Within VSTAR Next, Certain users can create and update the schedule for the Portfolio Coach Meetings and Assessments.
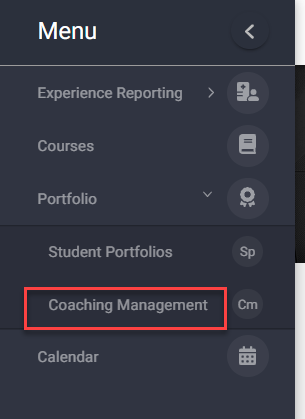
First begin by navigating to the Coaching Management view under the Portfolio tab on the left navigation menu:
Then, navigate to the Coaching Calendar tab.
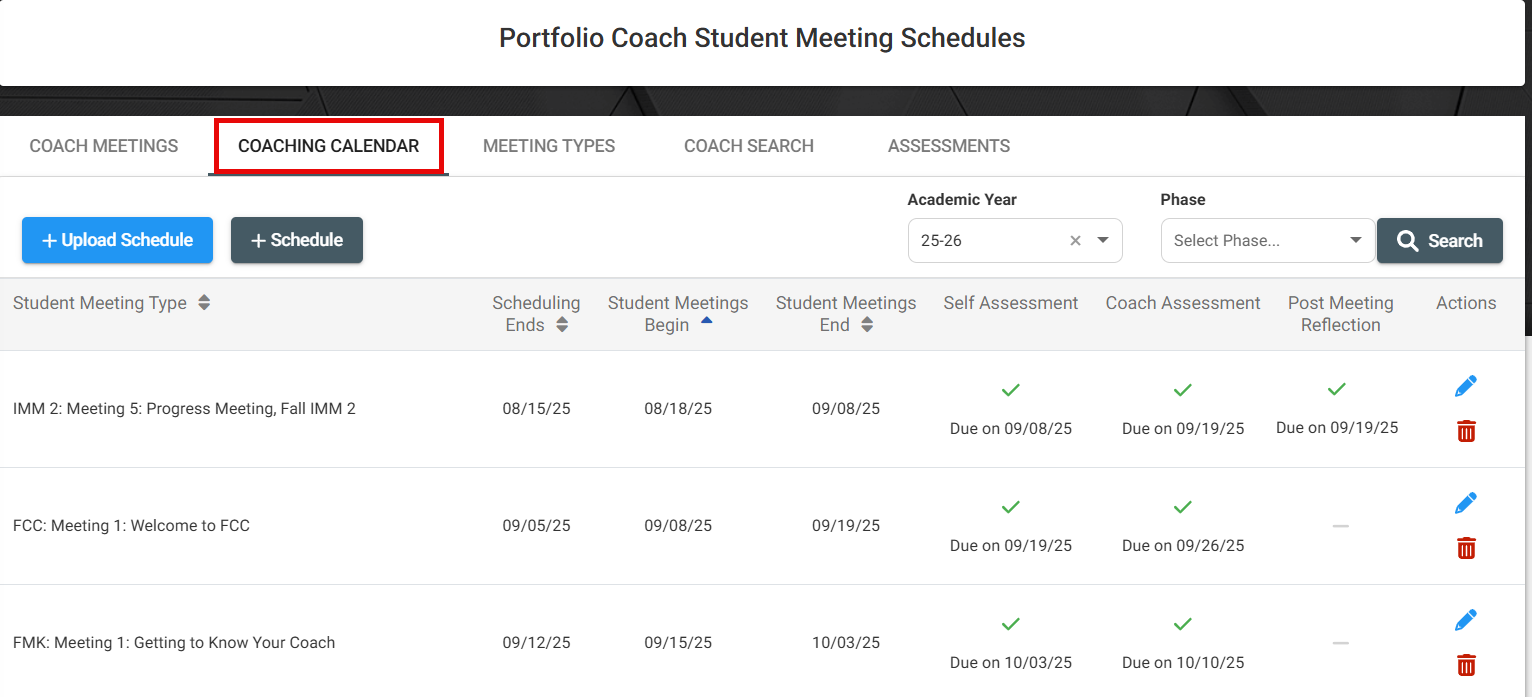
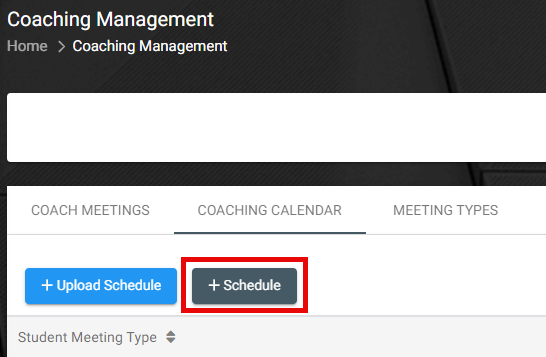
To start scheduling through the UI, click ‘+schedule’ This will open a new page allowing you to create a schedule for a Portfolio Coach Meeting.
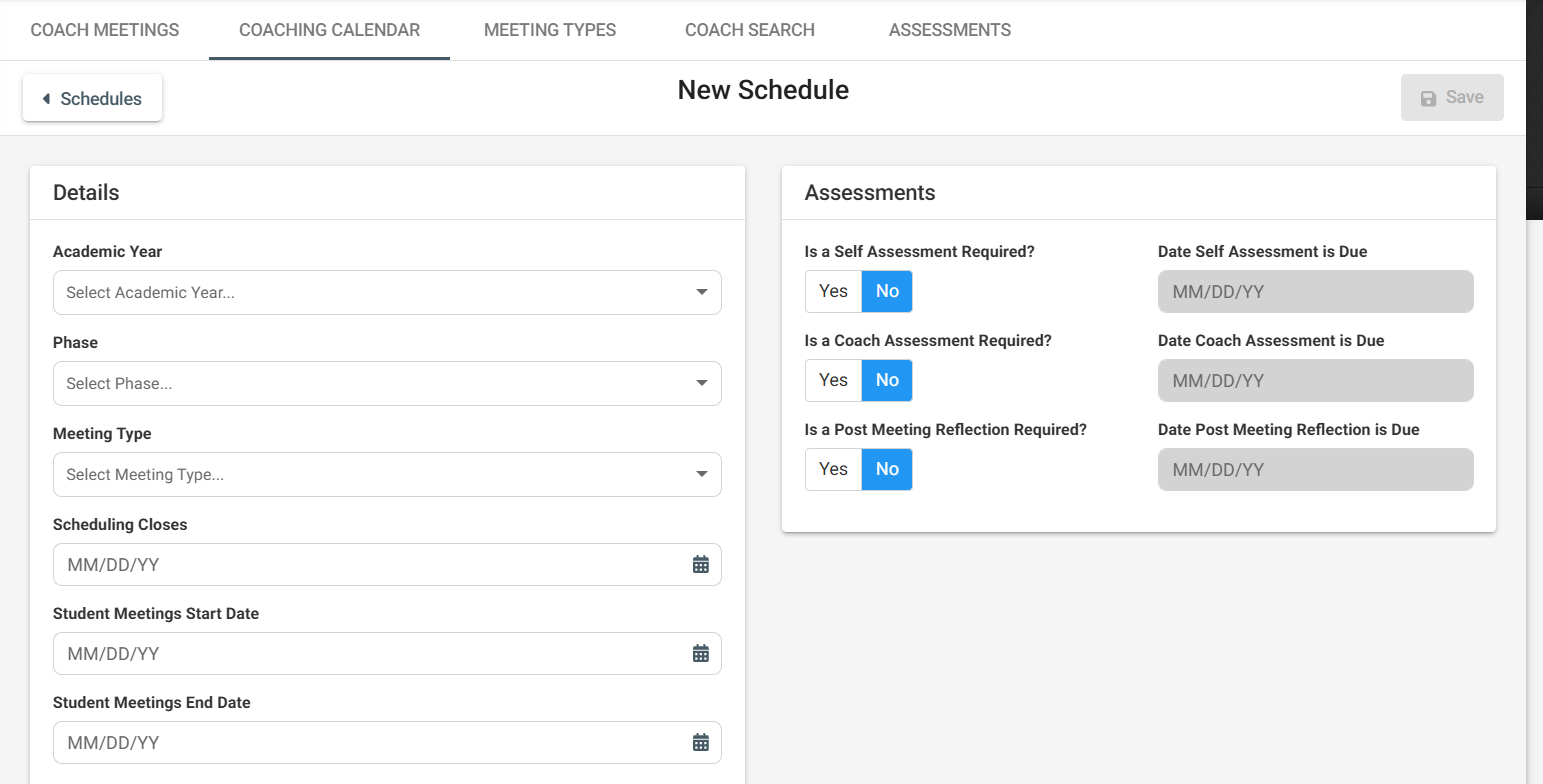
All of the fields are required in order to schedule the Portfolio Coach Meeting schedule:

Details:
Academic Year: Select the relevant AY
Phase: Choose from FMK, FCC or IMM(1/2)
Meeting Type: Select the relevant meeting type for the selected phase. If the meeting type you are looking for is not in the dropdown list, please reach out to the EDI team.
Scheduling closes: The deadline for students to schedule this particular meeting
Student Meetings Start / End Dates: The period in which the selected meeting can take place
Meeting length: in Minutes – typically Check-in meetings are 30 mins, and Progress meetings are 60 mins. You are able to customize this time, but it is recommended to do so in increments of 30 mins.
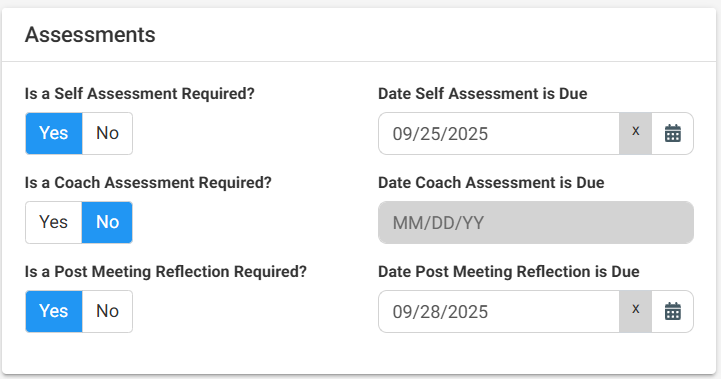
Assessments:
Is a Self Assessment required? Select whether or not a student has to complete a self assessment before the selected meeting. If Yes, you will have to select the Due date for the Assessment.
Is a Coach Assessment Required? Select whether or not the coach has to complete an assessment for the student before the selected meeting. If Yes, you will have to select the Due date for the Assessment.
Is a Post Meeting Reflection Required? Select whether or not a student has to complete a Post Meeting Reflecting during or after the selected meeting. If yes, you will have to select the Due date for the Reflection.
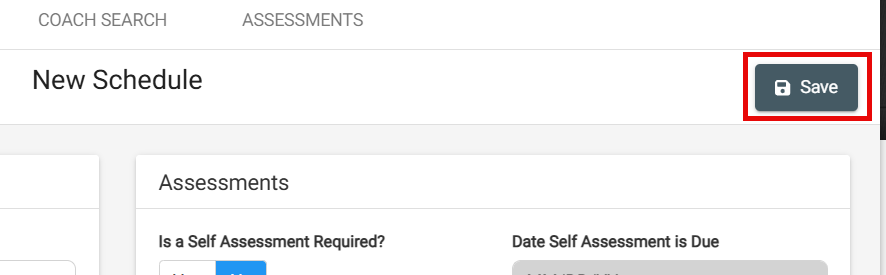
Once you have filled out all the information, click ‘Save’. If you need to schedule more than one Portfolio Coach Meeting type, you will have to repeat the steps.
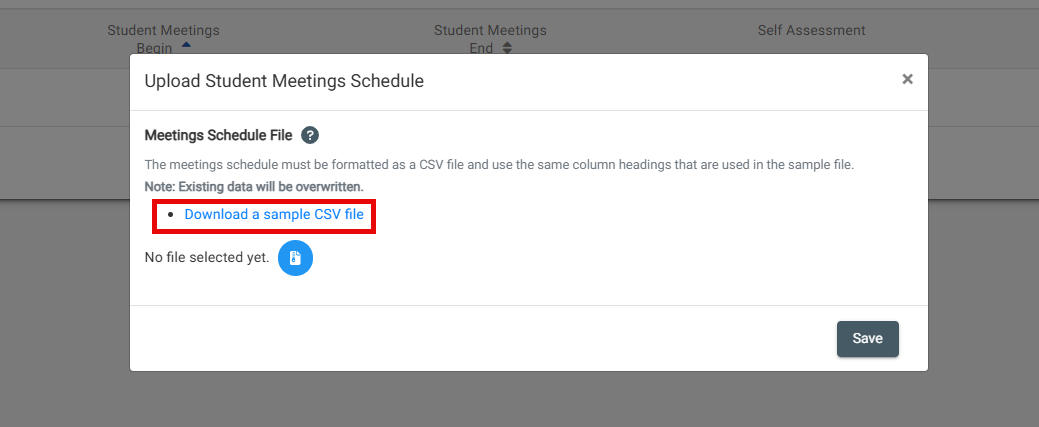
Alternatively, you can upload the Schedule in bulk by uploading a CSV file.
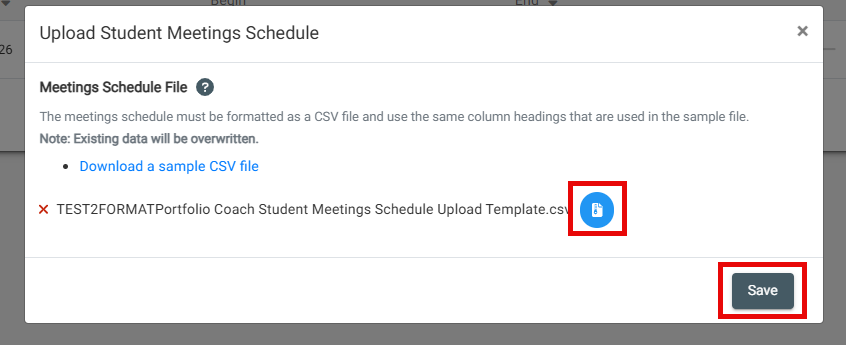
To start, click ‘+Upload Schedule’ within the Coaching Calendar tab. This will open a new modal in which you can download a sample CSV file.

Download the Sample CSV file. The CSV file contains the same fields as if you were to individually schedule meetings, but you will have to ensure the formatting is correct.

Filling out the CSV in the correct format:
Academic Year: You can only upload for one academic year per csv file. The format is: YY-YY (e.g. 22-23 or 25-26)
Phase: Input one of the following: FMK – FCC – IMM 1 – IMM 2
Meeting Type: Match the exact value and formatting/punctuation as it shows in the dropdown menu during the scheduling individual meetings (see above). Example: Meeting 5: End of Phase Progress Meeting, Review all Blocks
Scheduling Closes: MM/DD/YYYY
Coaching Meetings Start Date: MM/DD/YYYY
Coaching Meetings End Date: MM/DD/YYYY
Meeting length: input only the numerical value in minutes – e.g. 30 or 60. We advise to do this in increments of 30 mins.
Self Assessment Required: True/False
Self Assessment Due Date: Leave blank if Self Assessment required is False. Otherwise this is a required field with format: MM/DD/YYY
Coach Report Required: True/False
Coach report Due date: Leave blank if Coach report required is False. Otherwise this is a required field with format: MM/DD/YYY
Post Meeting Reflection Required: True/False
Post Meeting Reflection Due date: Leave blank if Post Meeting Reflection required is False. Otherwise this is a required field with format: MM/DD/YYY

Ensure that your file is saved as a CSV again. Go back to ‘+Upload Schedule’ and select the file in the modal. Once selected, click save.
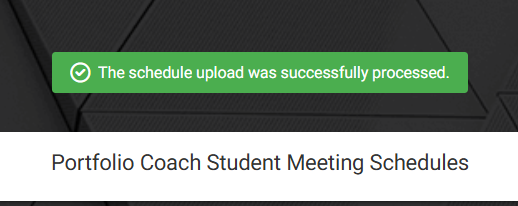
The system will let you know whether your upload was successful.