This help article will walk students through the steps needed to view their Submitted Experiences. Submissions can be found within VSTAR Next, from the Apps dropdown in the top right corner. You can also use the following link to open VSTAR Next directly.
The following workflow can be found from the “Add Vital Experience” page in Experience Reporting menu in the left-hand navigation panel of your computer’s browser, or from the hamburger menu in your mobile browser.
This page describes:
- Submitted Experiences Table Options
- Editing an Encounter
- Duplicating an Experience
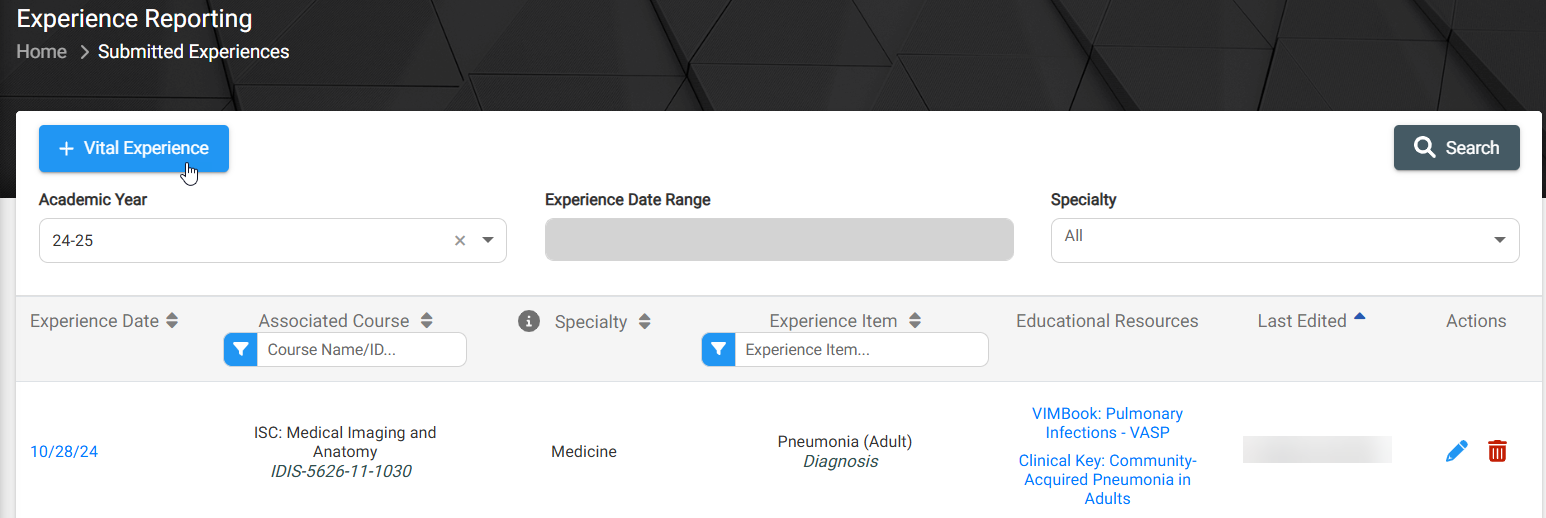
Submitted Experience Table Options
From the Experience Reporting menu, select “Submitted Experiences”. You will be taken to your table of experiences shown below, where you are able to perform the following actions:
- Search by Academic Year, Experience Date Range, Specialty
- Filter and sort experiences by Associated Course, Specialty, Experience Item, Last Edited
Sorting by Associated Course and Specialty are only available in the desktop version, not mobile
- View experience details (select the hyperlink in Experience Date column)
- Edit the details of an experience
 (on a mobile device, select the Experience Date to edit)
- Delete experience submission (Once deleted, THIS CANNOT BE UNDONE)

- Add a new Vital Experience
Editing an Experience
To edit a previous experience, select the pencil icon in the Actions column in the Submitted Experiences page (For mobile devices, select the experience date to edit.)
- Update your experience details
- Select Save in the top right corner (or at the bottom for mobile devices)
- Select the Submitted Experiences button in the top left to return to your list of submissions (pictured below)
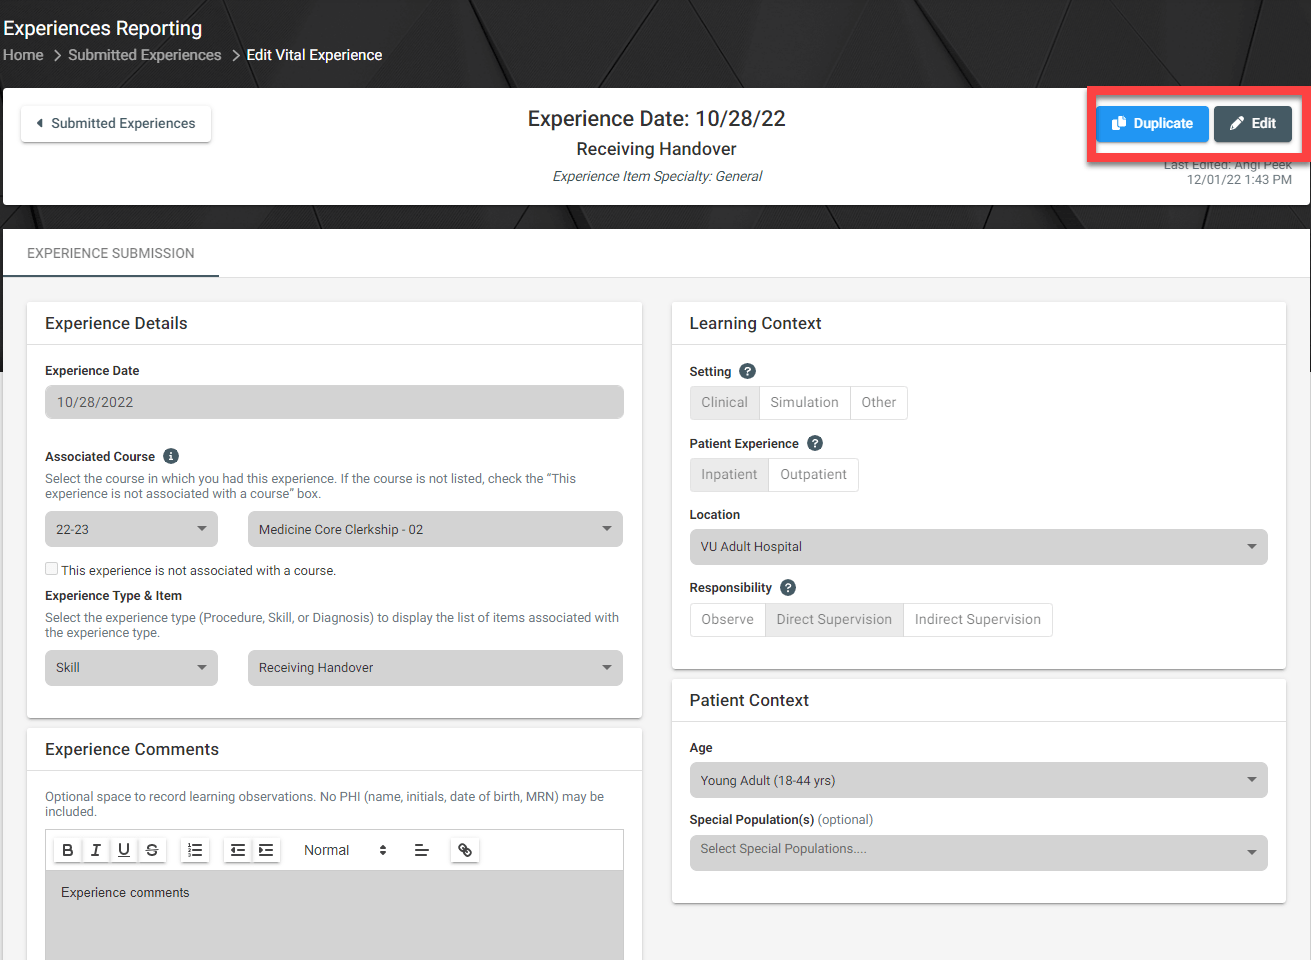
Duplicating an Experience
Duplicating an experience allows you to copy all of the details from a previous experience, with the exception of the Experience Item details. This is helpful if you have multiple procedures or skills performed with a single patient and do not wish to fill out the entire form again.
To duplicate, open the experience you are copying, and select Duplicate in the top right corner. Update the needed fields and be sure to Save.
- From the Submitted Experiences page, open the experience you are copying
- Select Duplicate in the top right corner
- Update the necessary Experience Details
- Select Save in the top right corner